Suunto Run User Guide
Recording an exercise
In addition to 24/7 activity monitoring, you can use your watch to record your training sessions or other activities to get detailed feedback and follow your progress.
To record an exercise:
- Put on a heart rate sensor (optional).
- Press the crown. The sport mode list appears in the screen.
- Find the sport mode you want to use by swiping up or turning the crown and select the sport mode by pressing the crown.
- Different sport modes have different options, swipe up or turn the crown to scroll through them and adjust them by pressing the crown.
Above the start indicator, a set of icons appears, depending on what you are using with the sport mode (such as heart rate and connected GPS):
- The arrow icon (connected GPS) flashes gray while searching and turns green once a signal is found.
- The heart icon (heart rate) flashes gray while searching and once a signal is found, it turns into a colored heart attached to a belt if you are using a heart rate sensor or a colored heart without the belt if you are using the optical heart rate sensor.
- If you have a POD or headphones paired and connected, their icon is visible.
- The battery estimation is visible, that tells you how many hours you can exercise before the battery runs out.
If you are using a heart rate sensor only the heart icon turns green (meaning that the optical heart rate sensor is active), check that the heart rate sensor is paired, see Pair devices, and try again.
We recommend you to wait for each icon to turn green before starting an exercise for more accurate data. Start the recording by selecting Start.

Once the recording is started, the selected heart rate source is locked and cannot be changed during the ongoing training session.
While recording, you can switch between displays by turning the crown.
- Press the upper button to pause the recording.
- Press the crown to open the list of options.
- Stop and save by selecting End.
It is also possible to delete your exercise log by selecting Discard.
After you stop the recording, you are asked how you felt. You can answer or skip the question (see Feeling). The next screen shows a summary of the activity that you can browse through with the touch screen or by turning the crown.
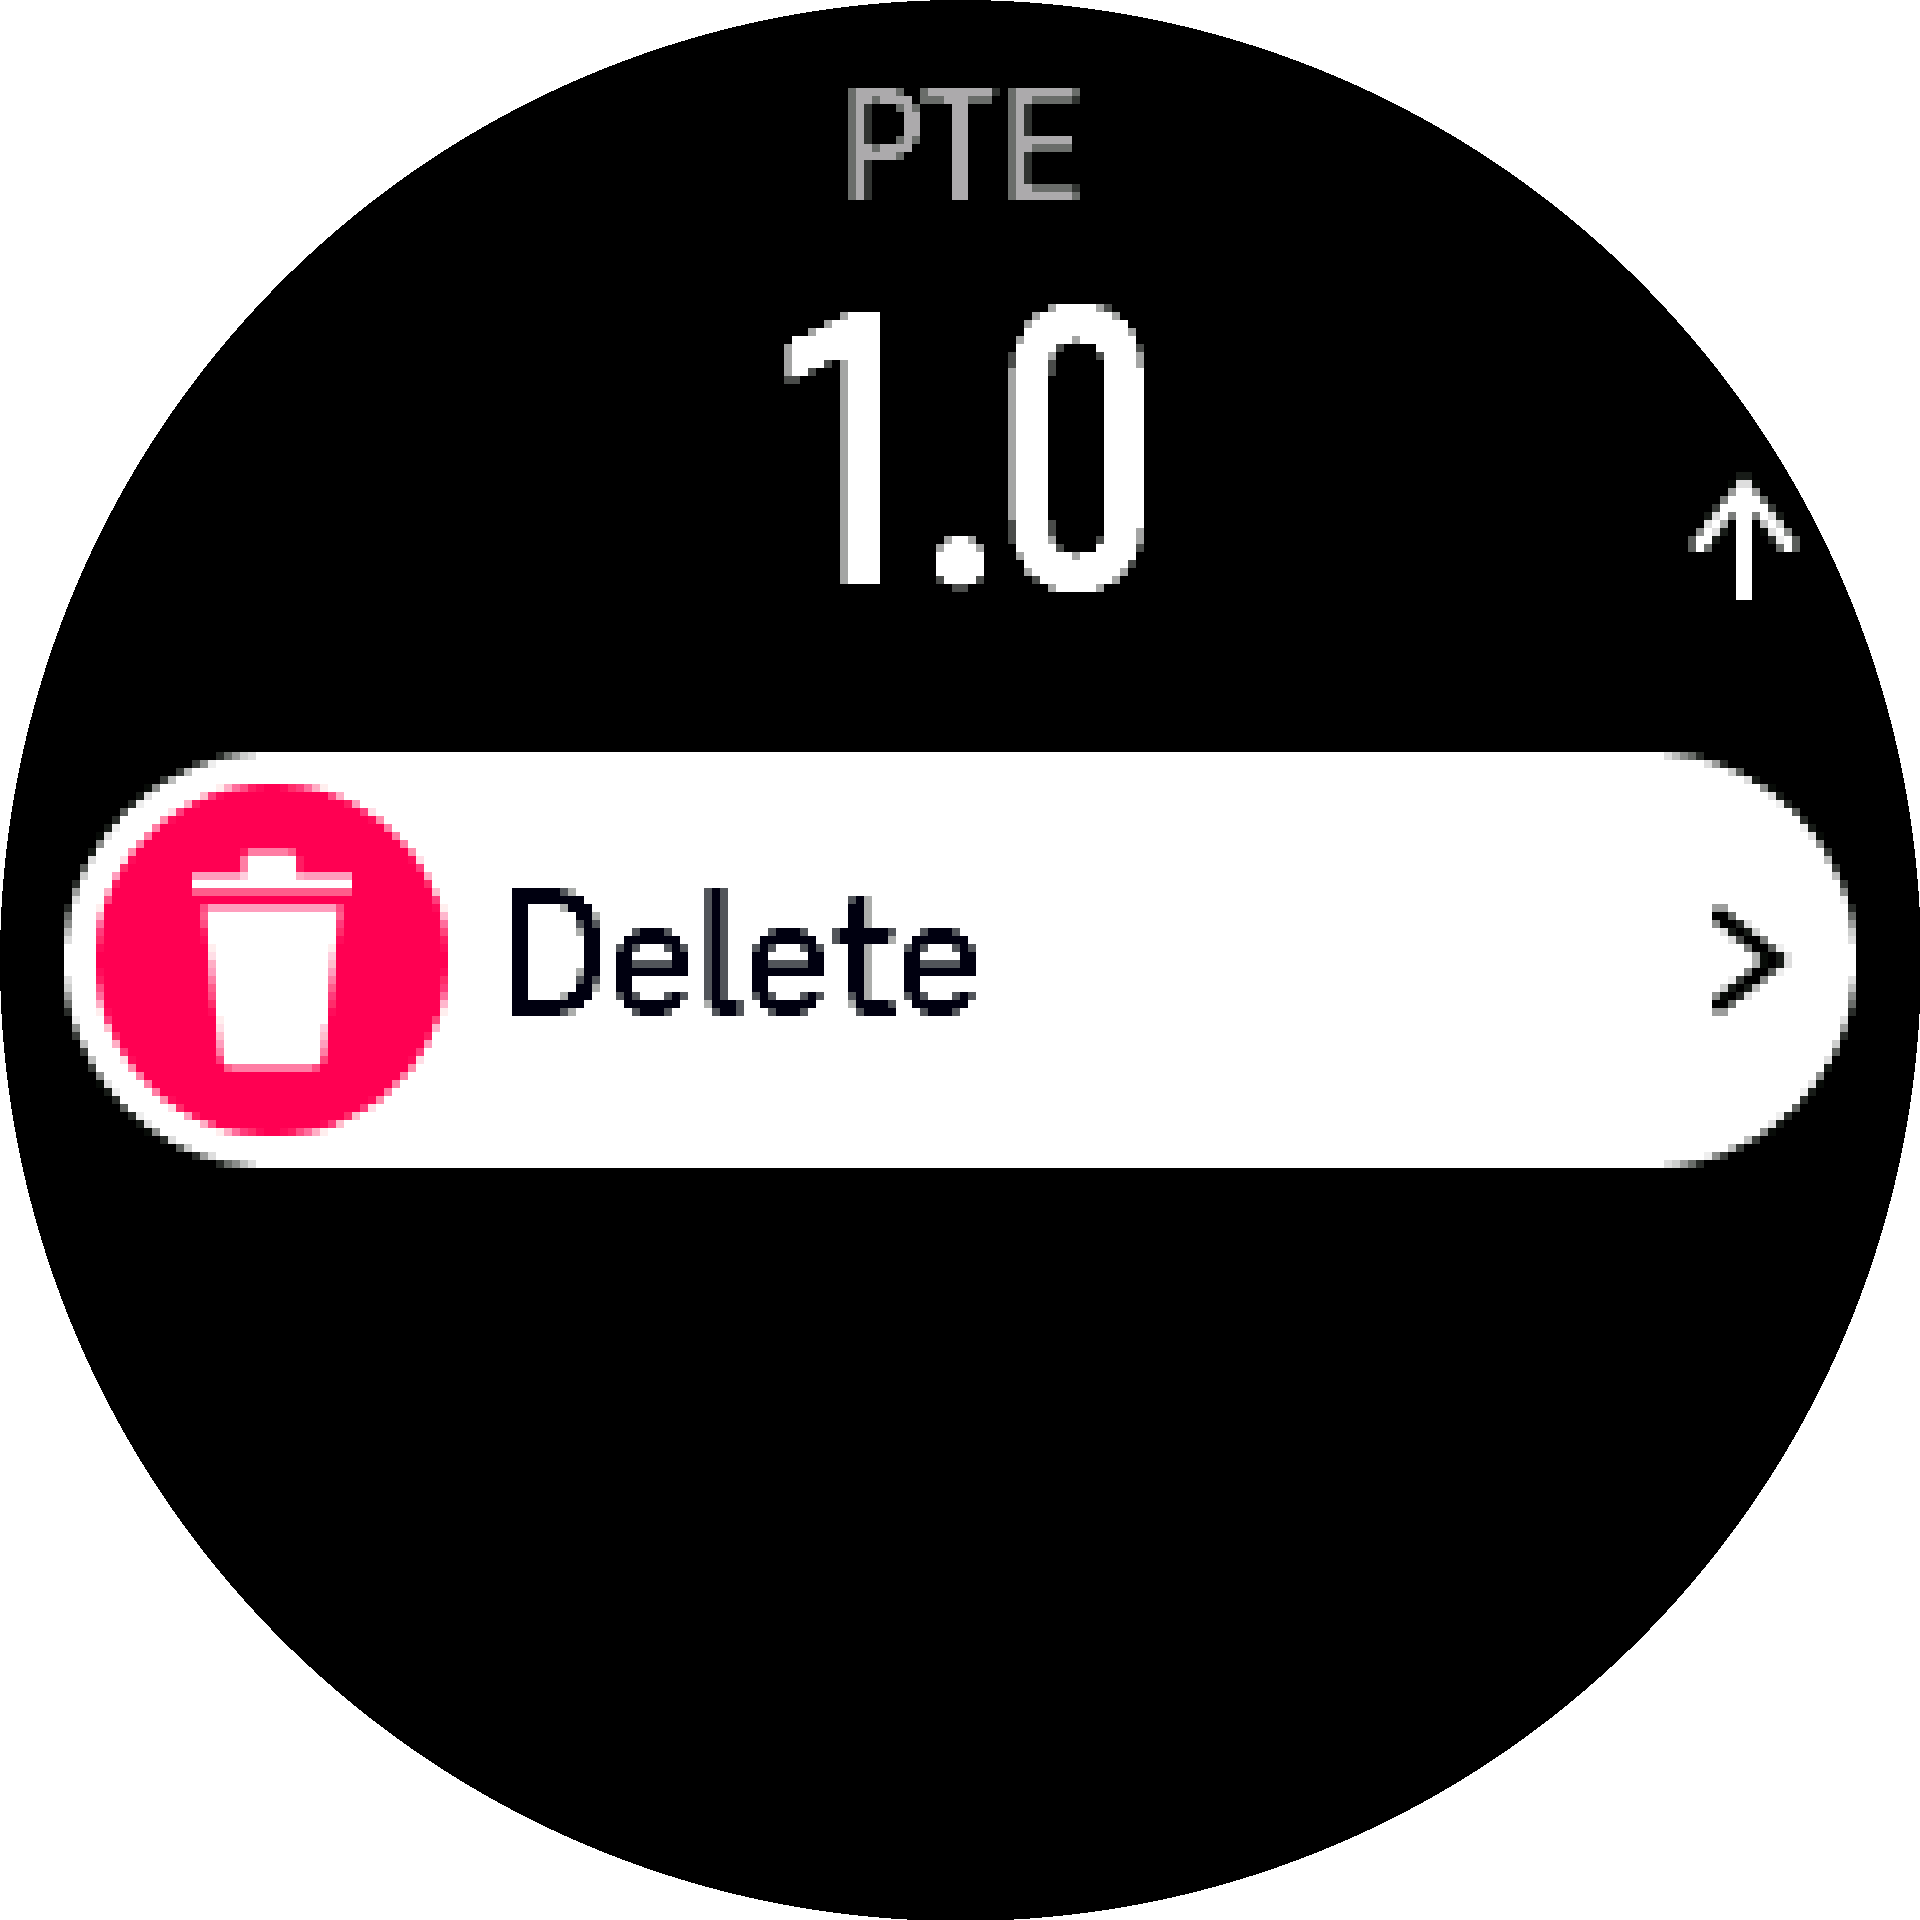
If you made a recording you do not want to keep, you can delete the log entry by scrolling to the bottom of the summary and tapping the delete button. You can also delete logs in the same way from the logbook.

Exercise settings
Before you start recording an exercise, it is worth customizing the settings for the given exercise. From the start screen, scroll down and select Exercise settings. You can adjust the following options:
Battery mode: See Battery power management.
Autopause: See Autopause.
Post-exercise HR monitoring: If you toggle on this option, the watch keeps monitoring your heart rate for 3 minutes after your exercise recording. This way you can check how your heart rate returns to the normal rate.
Touch screen: If you toggle on this option, you can use the touch screen during exercise recording. Toggle off the touch screen option if you want to control your watch during the exercise recording only with the buttons.
Audio feedback: See Audio feedback.
Media player: See Media player.
Pair devices: See Pair devices.
Feeling: See Feeling.